How to install Kermeta
Build date: 1-October-2008
Abstract
This tutorial is part of a serie of tutorials that explain step by step one of the aspect of Kermeta. This one shows how to install Kermeta workbench.
Table of Contents
Kermeta is a Domain Specific Language dedicated to metamodel engineering. It fills the gap let by MOF which defines only the structure of meta-models, by adding a way to specify static semantic (similar to OCL) and dynamic semantic (using operational semantic in the operation of the metamodel). Kermeta uses the object-oriented paradigm like Java or Eiffel. This document presents various aspects of the language, including the textual syntax, the metamodel (which can be viewed as the abstract syntax) and some more advanced features typically included in its framework.
![[Important]](gfx/admonitions/important.gif) | Important |
|---|---|
| Kermeta is an evolving software and d espite that we put a lot of attention to this document, it may contain errors (more likely in the code samples). If you find any error or have some information that improves this document, please send it to us using the bug tracker in the forge: http://gforge.inria.fr/tracker/?group_id=32 or using the user mailing list (kermeta-users@lists.gforge.inria.fr) Last check: v1.2.0 |
![[Tip]](gfx/admonitions/tip.gif) | Tip |
|---|---|
| The most update version of this document is available online : http://www.kermeta.org/documents . |
Your operating system must use the 1.5 or above version of Java. If not, please visit the Java web page (http://java.sun.com/) and install the latest version of Java.
Eclipse must be installed. We currently use Eclipse 3.4.1 (Ganymede). You can get Eclipse from http://www.eclipse.org/downloads/.
In this tutorial, your Eclipse installation is supposed to be relatively minimal, so you should download the Eclipse classic version of Eclipse which is a good base for development with Kermeta. This tutorial will cover every necessary step to get Kermeta working with Eclipse.
Some additional installation instructions are available here : http://www.eclipse.org/documentation/ .
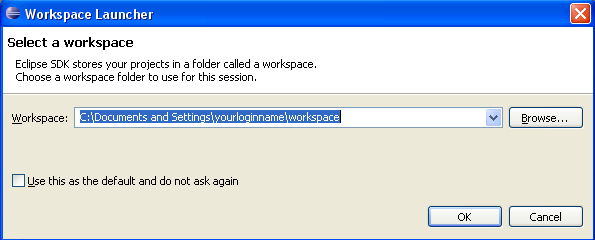
When you start Eclipse for the first time, you will be asked for a workspace location. This is the directory used by Eclipse to store the projects you will create in the future. The image below is the dialog box you should see. By default, Eclipse proposes to create a workspace directory named "workspace" in your home directory.
| Tip |
|---|---|
| If (like me) you have many versions of eclipse with various configurations, you may consider create your workspace directly in the eclipse folder. You'll be able to easily move or remove a complete eclipse without the risk of corrupting eclipse .metadata with various configurations. |
On every launch, you will be prompted for the workspace location. For now, we just click "OK" to open the main window of Eclipse using the workspace you've created. You should see a window like the one below.
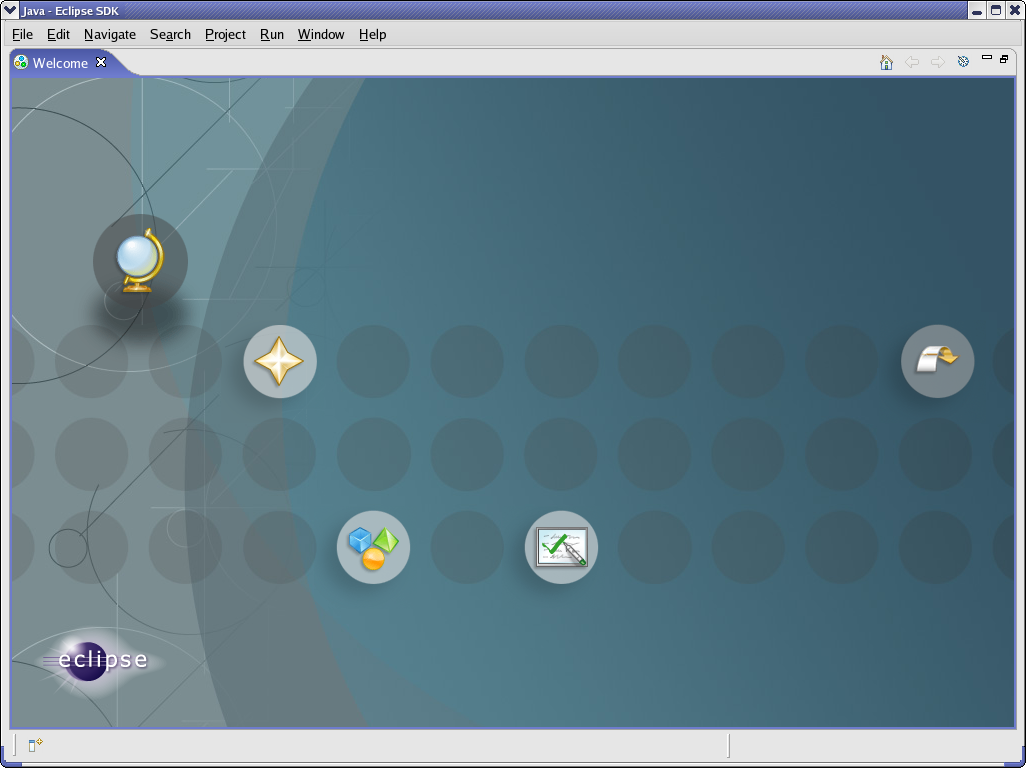
You can close the "Welcome" tab. Now your window looks like this one :
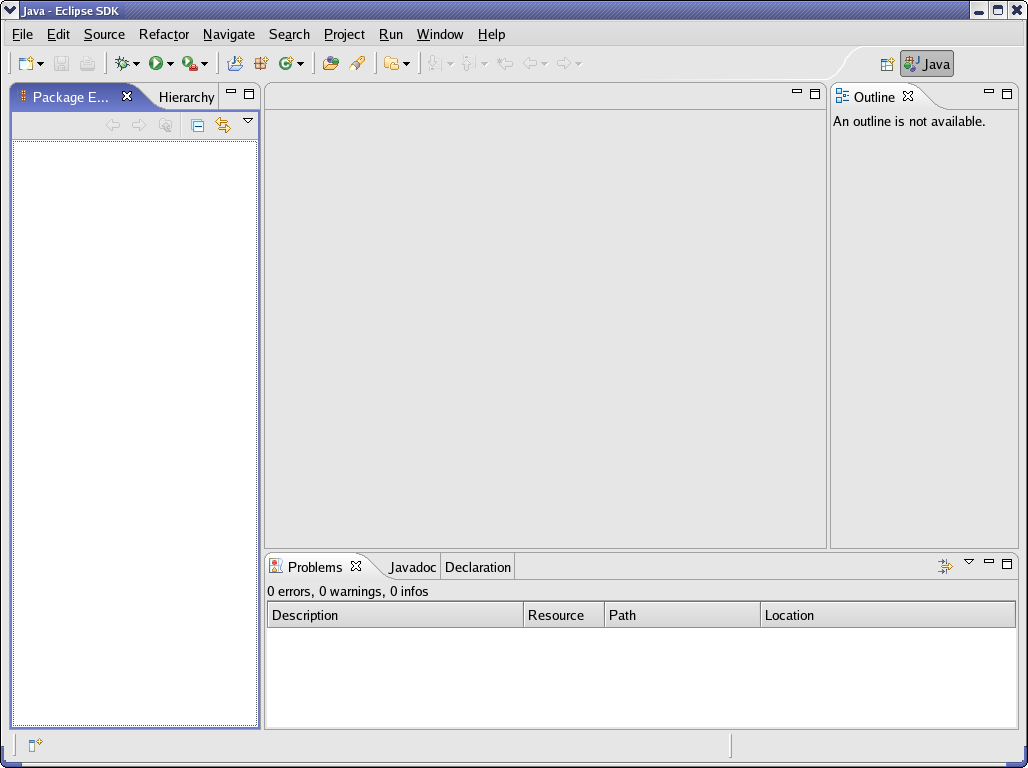
Now, let's proceed to the Kermeta installation.
Kermeta installation use the installer built in Eclipse.
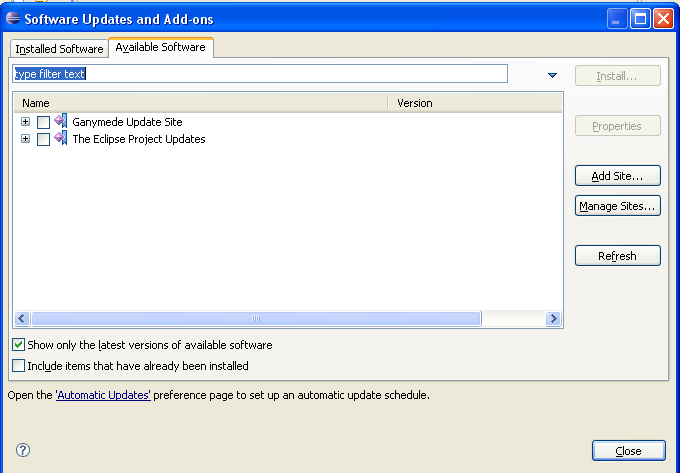
In the main menu of Eclipse, select Help >> Software Updates . A dialog box appears. Select the tab Available Software.
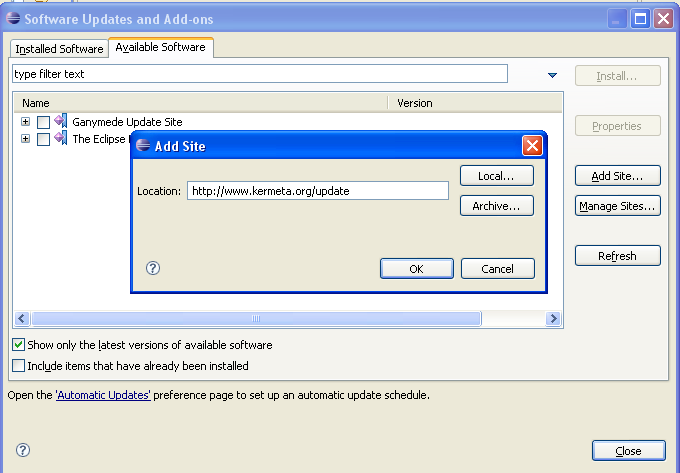
Now, you need to tell Eclipse where to look for Kermeta features. So you click on Add Site... and enter the following location : http://www.kermeta.org/update
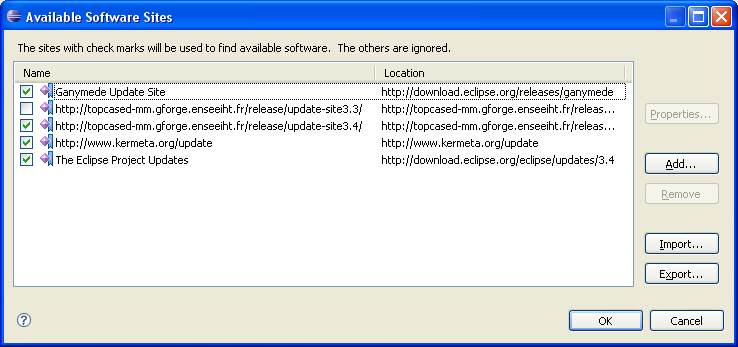
In order to enable Kermeta Graphical editors, you also need to use Topcased Update site. Click Manage Sites... then select the topcased update site for your version of Eclipse. In our case, eclipse 3.4.
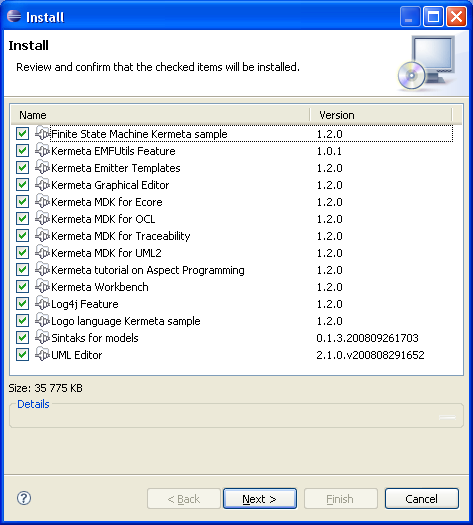
We can now select the feature we want to install.
To be simple, select everything from Kermeta site, select the UML editor from Topcased site and the EPF RichText feature from Topcased site
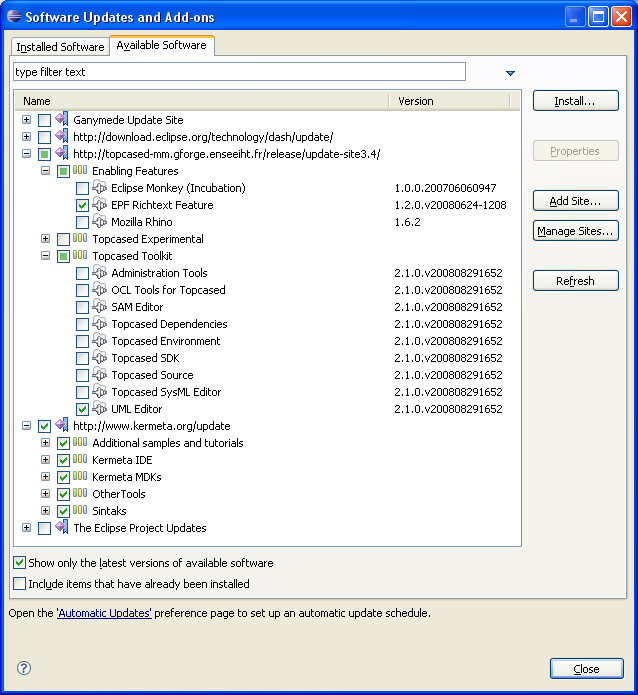
Then click on Install.
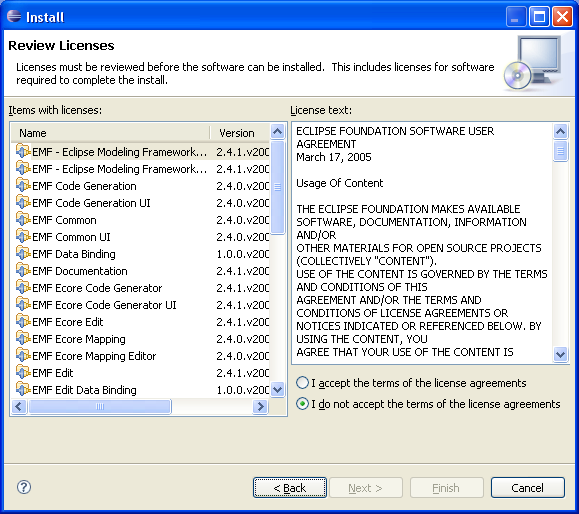
You'll be asked to review and confirm your choice.
You must accept the term of the licenses agreement and click finish.
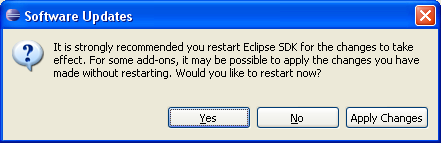
Finally, you must reboot Eclipse to take changes in account. Do it by clicking on "Yes".
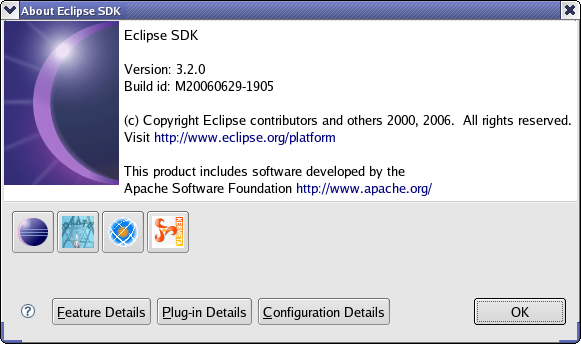
Once rebooted, you can check your version of Kermeta in the main menu of Eclipse > Help >> About Eclipse SDK. You should see Kermeta logo. clicking on it must display its version and build date
If you suspect your installation to be incorrect (for example, because you started from another version of Eclipse, or because you have already some plugins installed in your eclipse), this chapter list some way to help you diagnose your Kermeta installation.
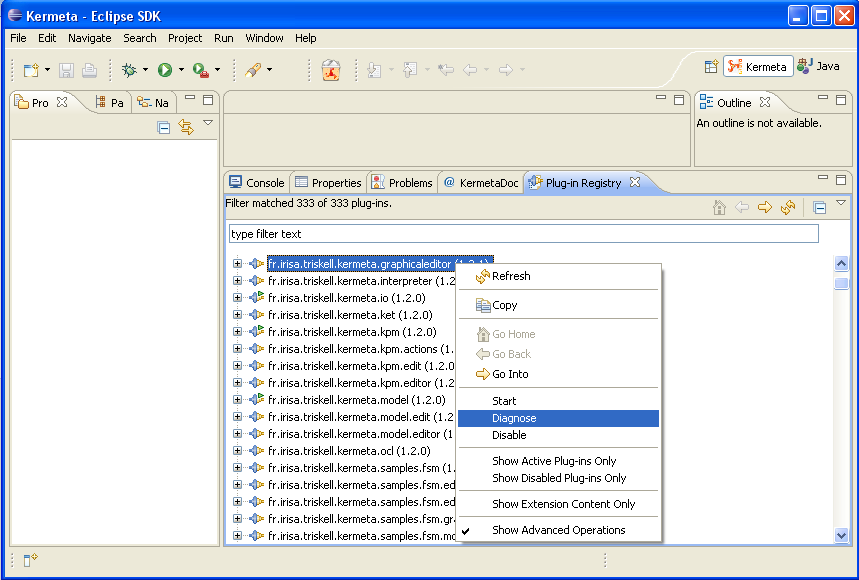
Since Eclipse 3.4, the Plugin Registry view allows to diagnose the installed plugins.
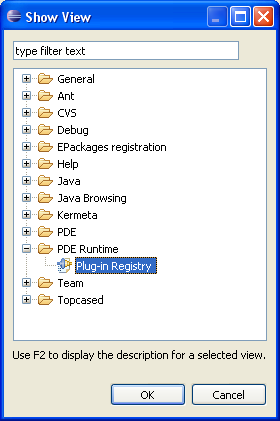
In the main menu of Eclipse > Windows >> Show view >> Other... then select the Plug-in Registry view in the PDE Runtime folder.
Then you must enable the advanced options. (small triangle on the top rigth corner of the view)
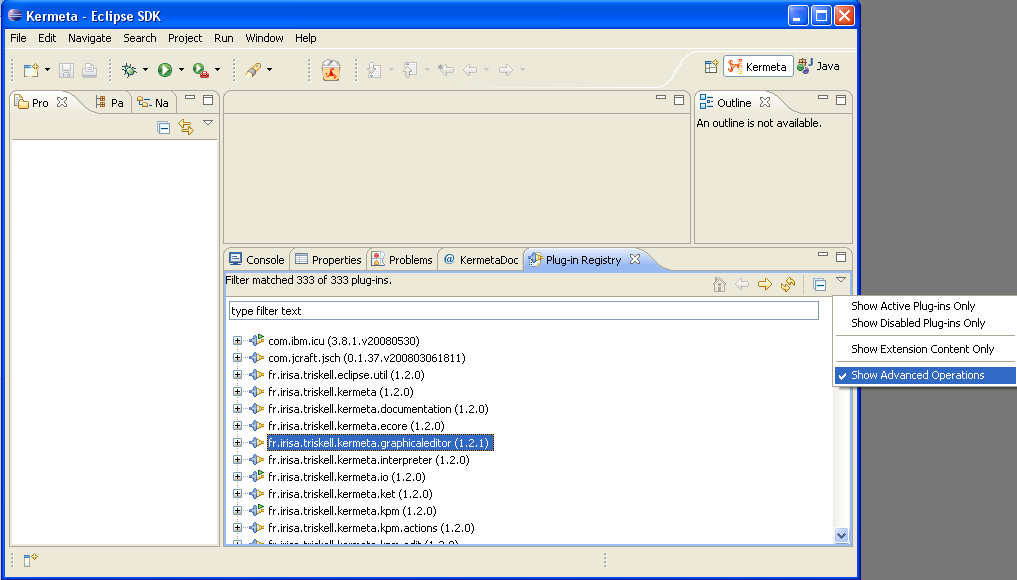
Now, you can right click on the plugins and diagnose them. Typically, if it requires another plugin that cannot be run, it will tell you. If this other plugin is in the list, diagnose it until you find the origin of your problem...