Kermeta installation use the installer built in Eclipse.
In the main menu of Eclipse, select Help >> Install New Software . A dialog box appears.

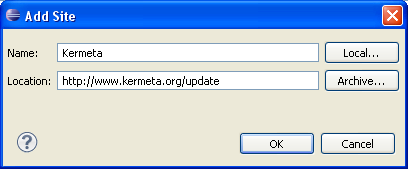
Now, you need to tell Eclipse where to look for Kermeta features. So you click on Add Site... and fill it like in the following picture.
Cick on OK. Then select the Kermeta update site in the scroll menu and select everything from Kermeta site like shown below.
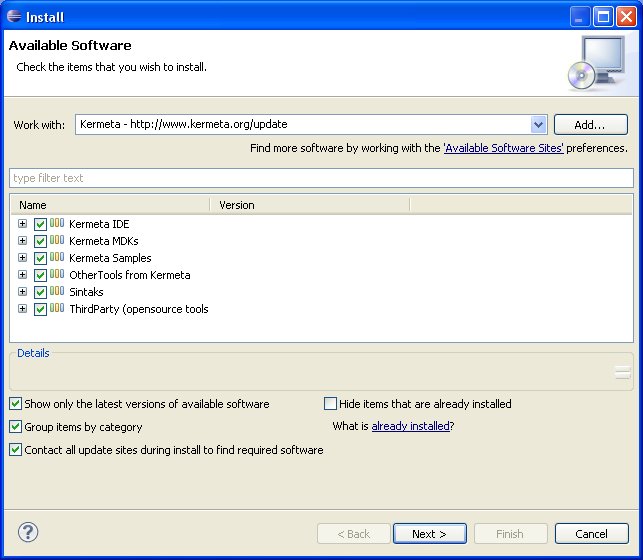
Then click on Next .
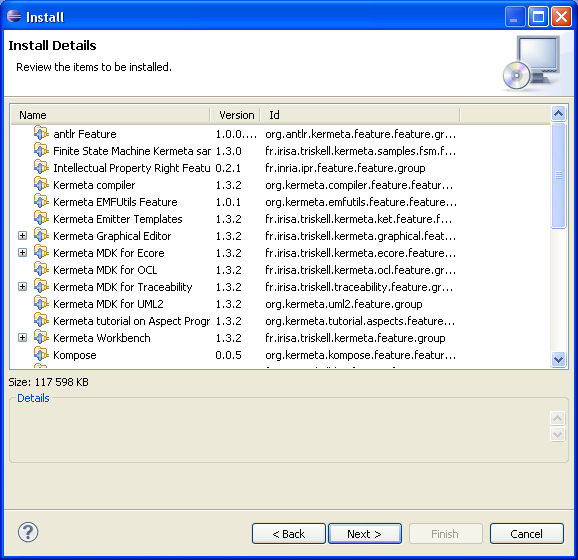
The next dialog shows the install Details. Click on Next.
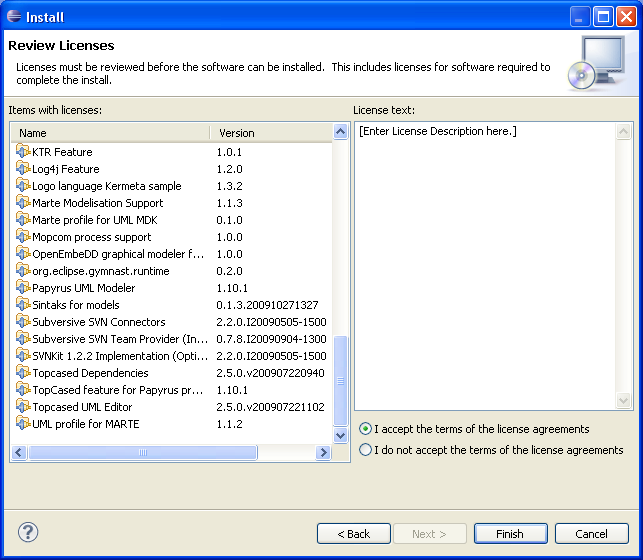
You must accept the term of the licenses agreement and click on finish.
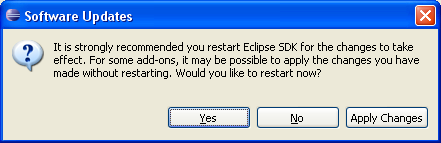
Finally, after the installation, you must reboot Eclipse to take changes in account. Do it by clicking on "Yes".
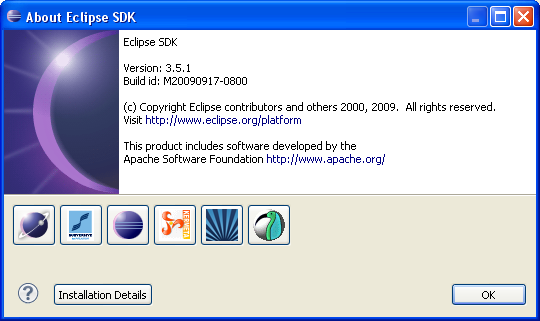
Once rebooted, you can check your version of Kermeta in the main menu of Eclipse > Help >> About Eclipse SDK. You should see Kermeta logo. Clicking on it must display its version and build date