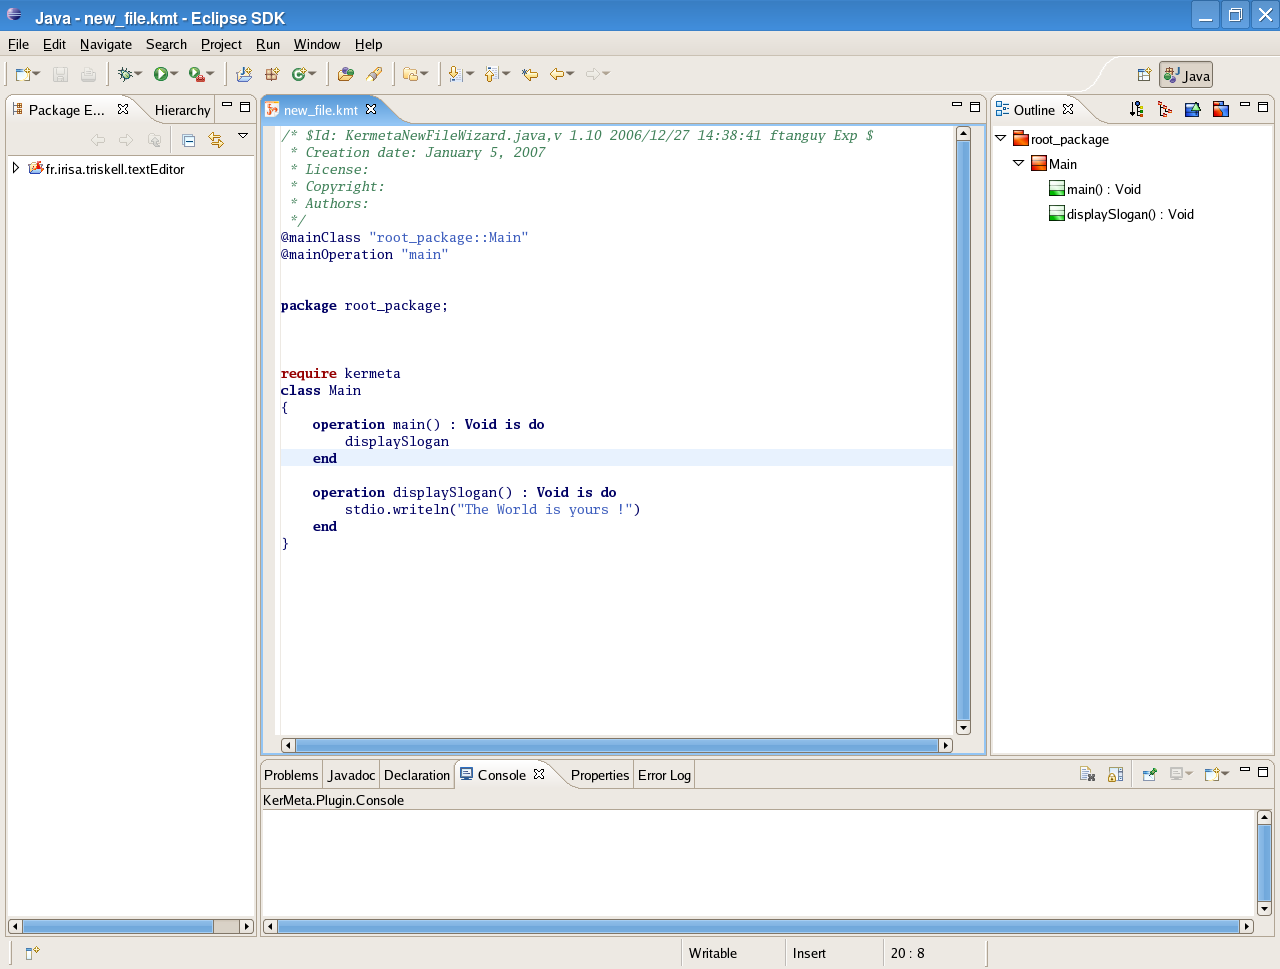
Nowadays a textual editor is not just an editable document. Many informations have been provided to the user in order to get improved editing performances. It is quite common to find textual editor with coloring syntax, auto-completion and outline. These three items working together usually makes a good textual editor. That is the reason why the Kermeta platform provides such an editor. Below, you can find the global view of the Kermeta editor.
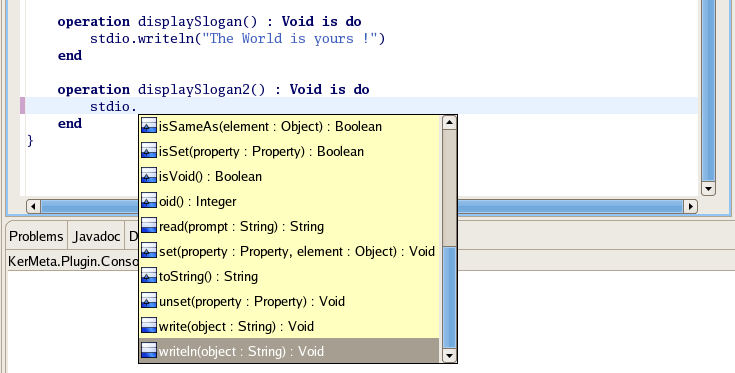
To develop faster and faster, some nice helpful tools now are usual. One of them is the auto-completion. According to a context, a list of item will be proposed. Using the arrows key and the carriage return key, you can select quickly and easily the item you want. The important thing is that, the list of item is calculated in order to only propose some relevant items. The figure below shows the auto-completion for "stdio" which is a special class in Kermeta (as System for Java). The typed point makes the system think that you want to call a method on "stdio". Then all the callable methods are proposed and you can choose one of them.
![[Note]](gfx/admonitions/note.gif) | Note |
|---|---|
The usual <ctrl>+<space> keyboard shortcut is used to access the code completion |
The outline is a structural view of your program. Code is not visible in this view, but the structure (packages, classes, attributes, methods and constraints) are visible in a tree hierarchy. Usually the outline position is on the top right side of the Eclipse's window. You can get advantages of the outline, when your program reaches a big size and when it is difficult to get a good visibility on the program's structure. Browsing the outline is much more faster than browsing the file. Moreover, clicking on an item (packages, classes, attributes or methods) brings you to that item in the file.
The following buttons are available on this view :
sort features : The content of the outline is sorted alphabetically.
Flatten inheritance : Show package hierarchy
Display all the features of your classes. The inherited features are displayed using a specific icon set.
Show imported types : Show all the classes that are declared using the require statement in this file.
| Note |
|---|---|
The Flatten inheritance also display the features of the Object class as all the Kermeta classes inherit from it. |
![[Warning]](gfx/admonitions/warning.gif) | Warning |
|---|---|
The "Show imported types" feature works on a per file basis and then it only shows the features declared using the require statement in this file and NOT all the files in your project. This option is really useful when you work with kermeta aspects since it display the elements in your faile and the elements imported by aspect. |
In addition, the elements are colored in order to help to identify where and how an element is defined.
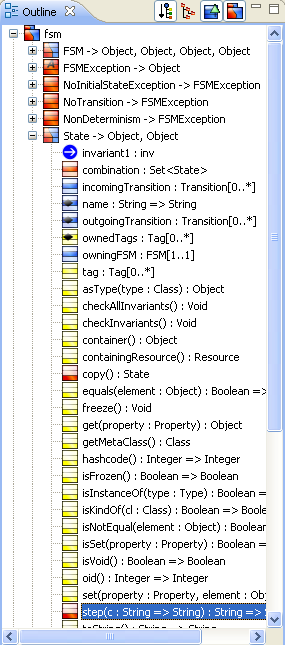
The following meaning are assigned to the colors in this view :
Red : The element is defined in the current file. It applies to : Packages, Classes, Attributes, References, Derived Properties and Operations.
Blue : The element is defined in an imported (required) file. It applies to : Packages, Classes, Attributes, References, Derived Properties and Operations. On classes features, this typically represent features imported via an aspect.
Yellow : The element is inherited from another class (regardless of the containment in the file). It applies to Attribute, Reference, Derived properties and Operations
Green : The operation is imported via an aspect and is still abstract.
Grey : The package doesn't define any class.
![[Tip]](gfx/admonitions/tip.gif) | Tip |
|---|---|
A double click will open the editor in order to show you the selected element. This feature works only if the element to display is in a kmt file. |
| Tip |
|---|---|
If you have activated the KermetaDoc view, it will show the documentation associated to the selected element. |
| Note |
|---|---|
In version 1.2.2, the constrains don't have a color differentiation. |
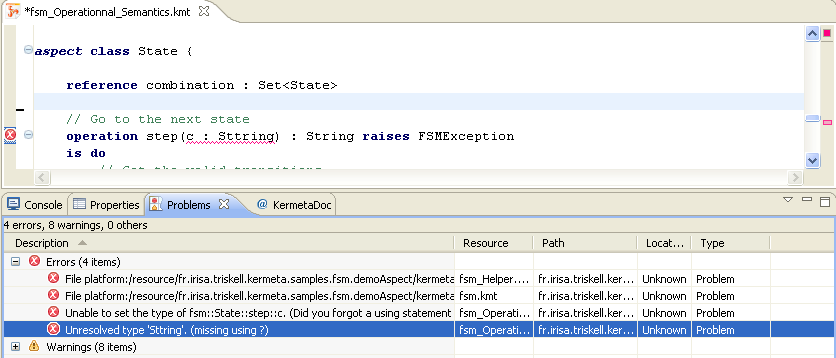
The textual editor is used to display extra pieces of information than simple text. In the figure below, a parsing error is reporting because of the semicolon which is not allowed in the language. The nice is thing is that in the Eclipse's problems view, just by double clicking on an error opens the erroneous file and make the cursor focusing on the correct line.
In addition, a list of all current errors is available in the general "Problems view".
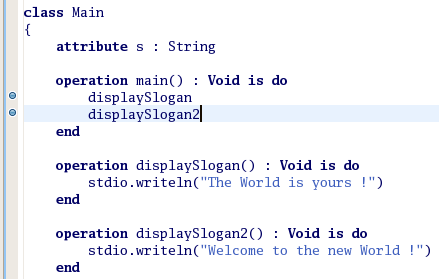
Kermeta is meant an executable language and provides a debugger. So, the textual editor is used to interact with the debugger.
Like in a Java style, some breakpoints can be added to the program by right clicking on the grey line at the left of the editor (as in the figure below). The breakpoint will be added in front of the selected line. Afterwards, when running the debugger, the program will halt at every breakpoint it goes through. At this moment, you will be able to have a look at the variables' value and run step by step or step into some methods.
See Chapter 5, Debugging for more details on the debugger features.